Portrait Painting Process from the 2021/1/21 Livestream
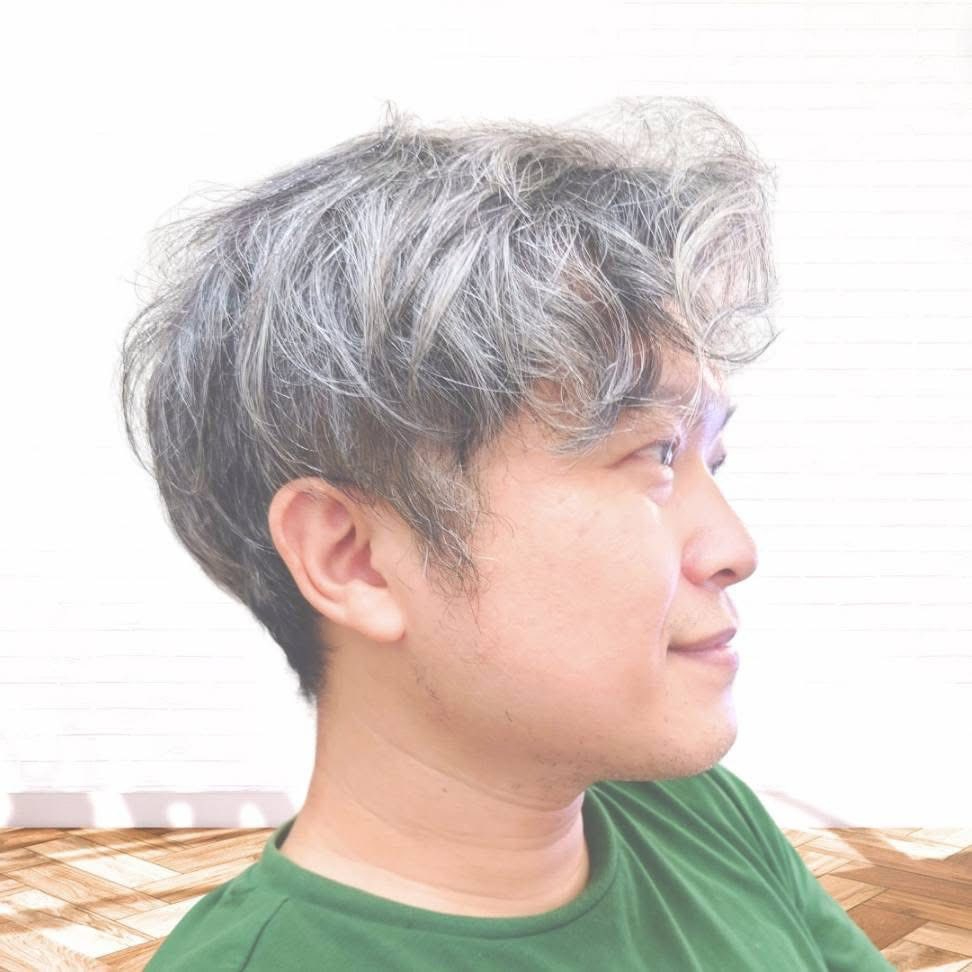
In this livestream, we shared the process of painting a portrait and discussed how to borrow reference photos for lighting. Here we've organized the portrait demonstration step by step for your reference.
Building the Line Art
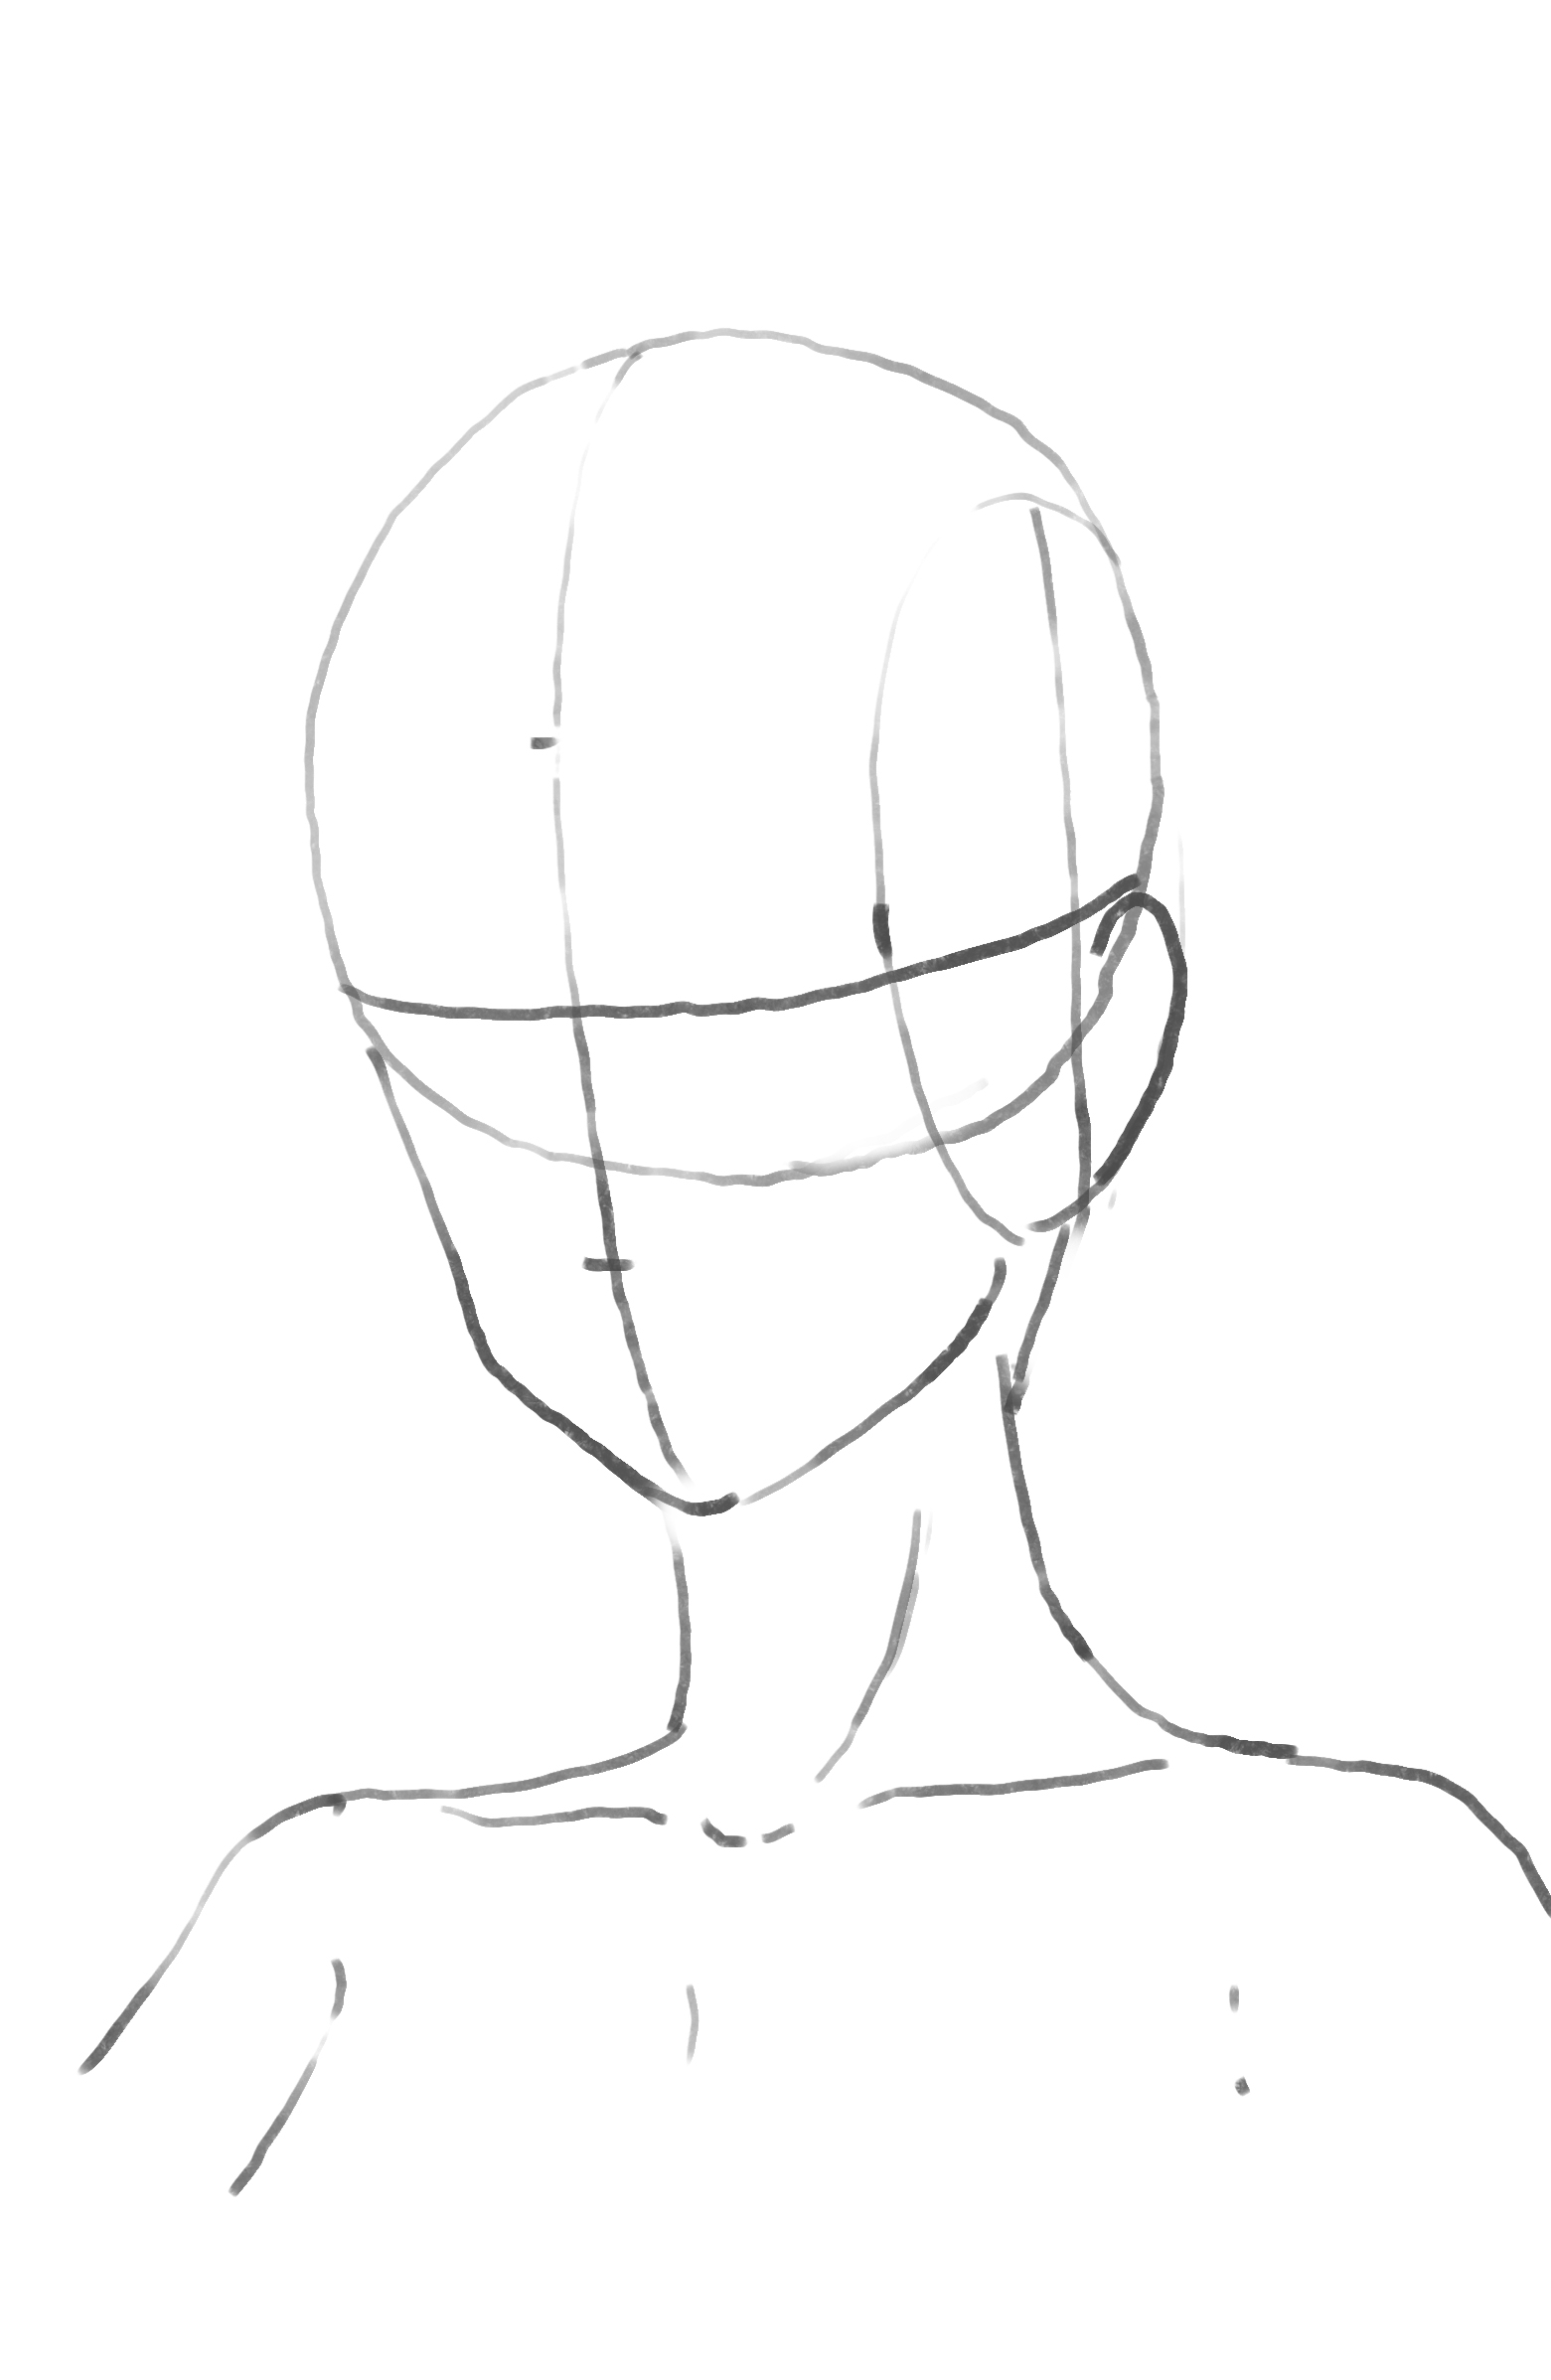
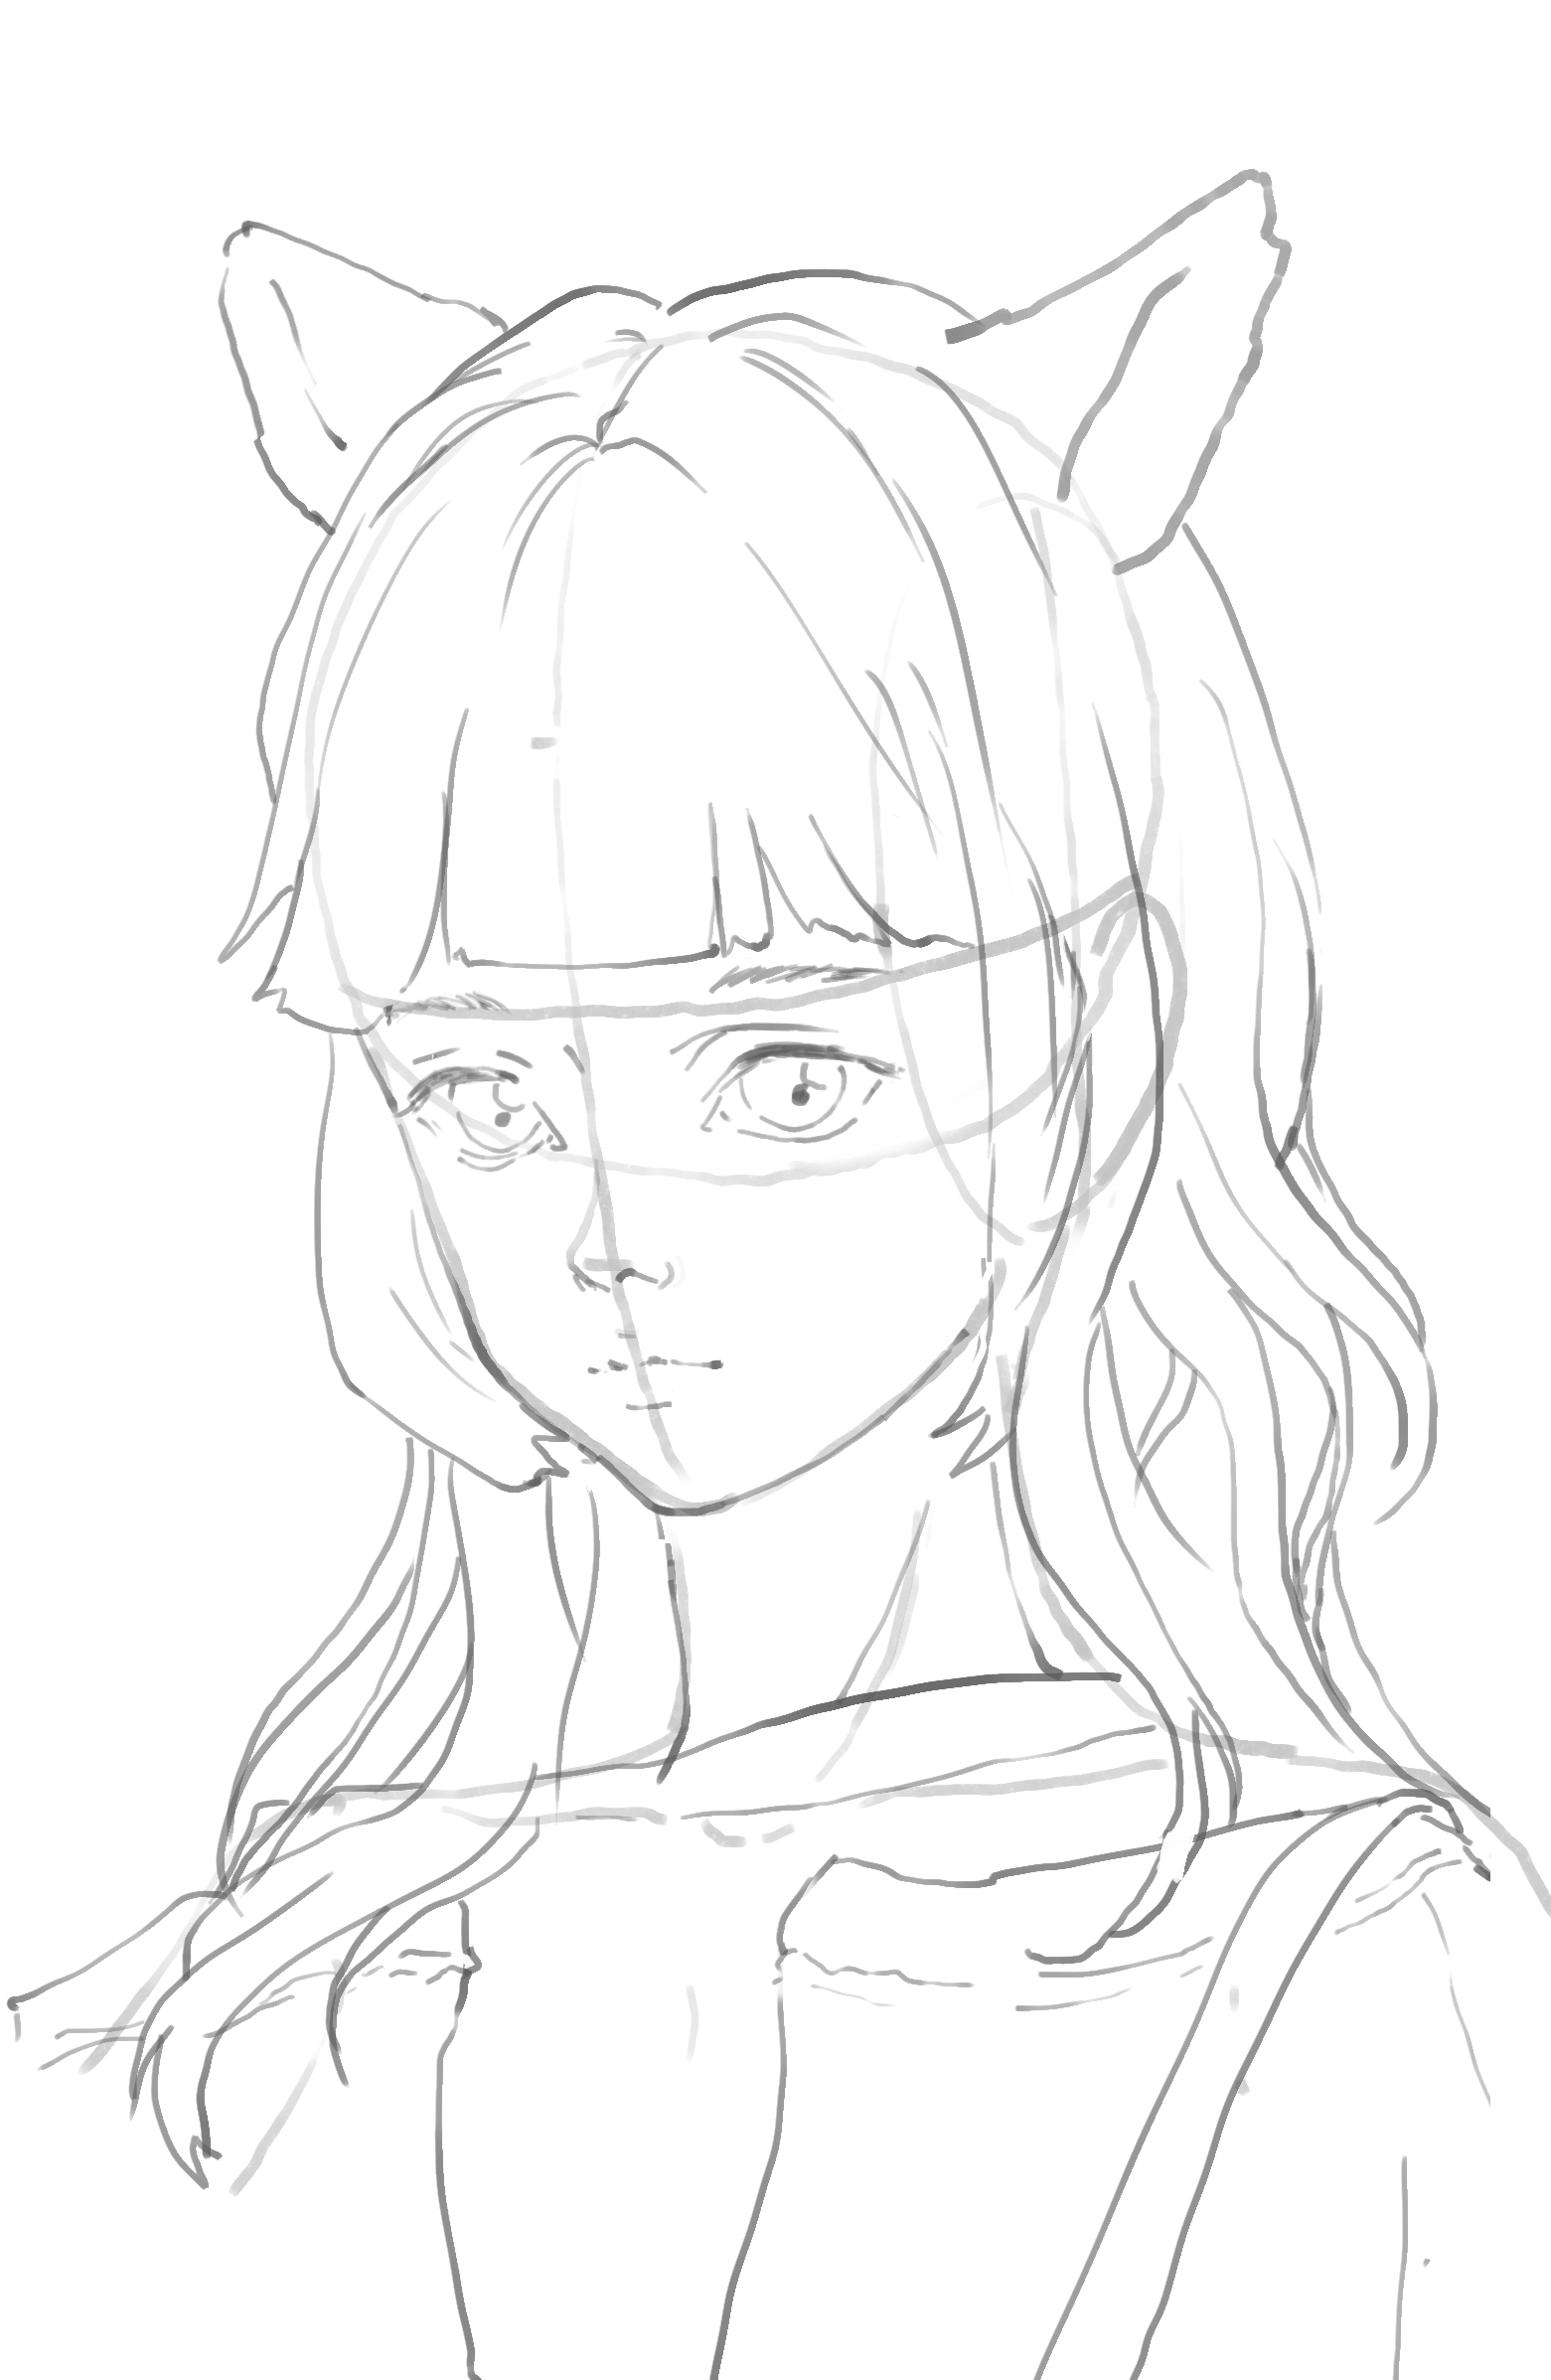
Start by simplifying the skull with circles and other basic geometric shapes. This keeps the head's line art layout from feeling overwhelming — too many things to handle at once makes it hard to put the pen down. The principle for line art: from large to small, from simple to complex.
Mapping the Values
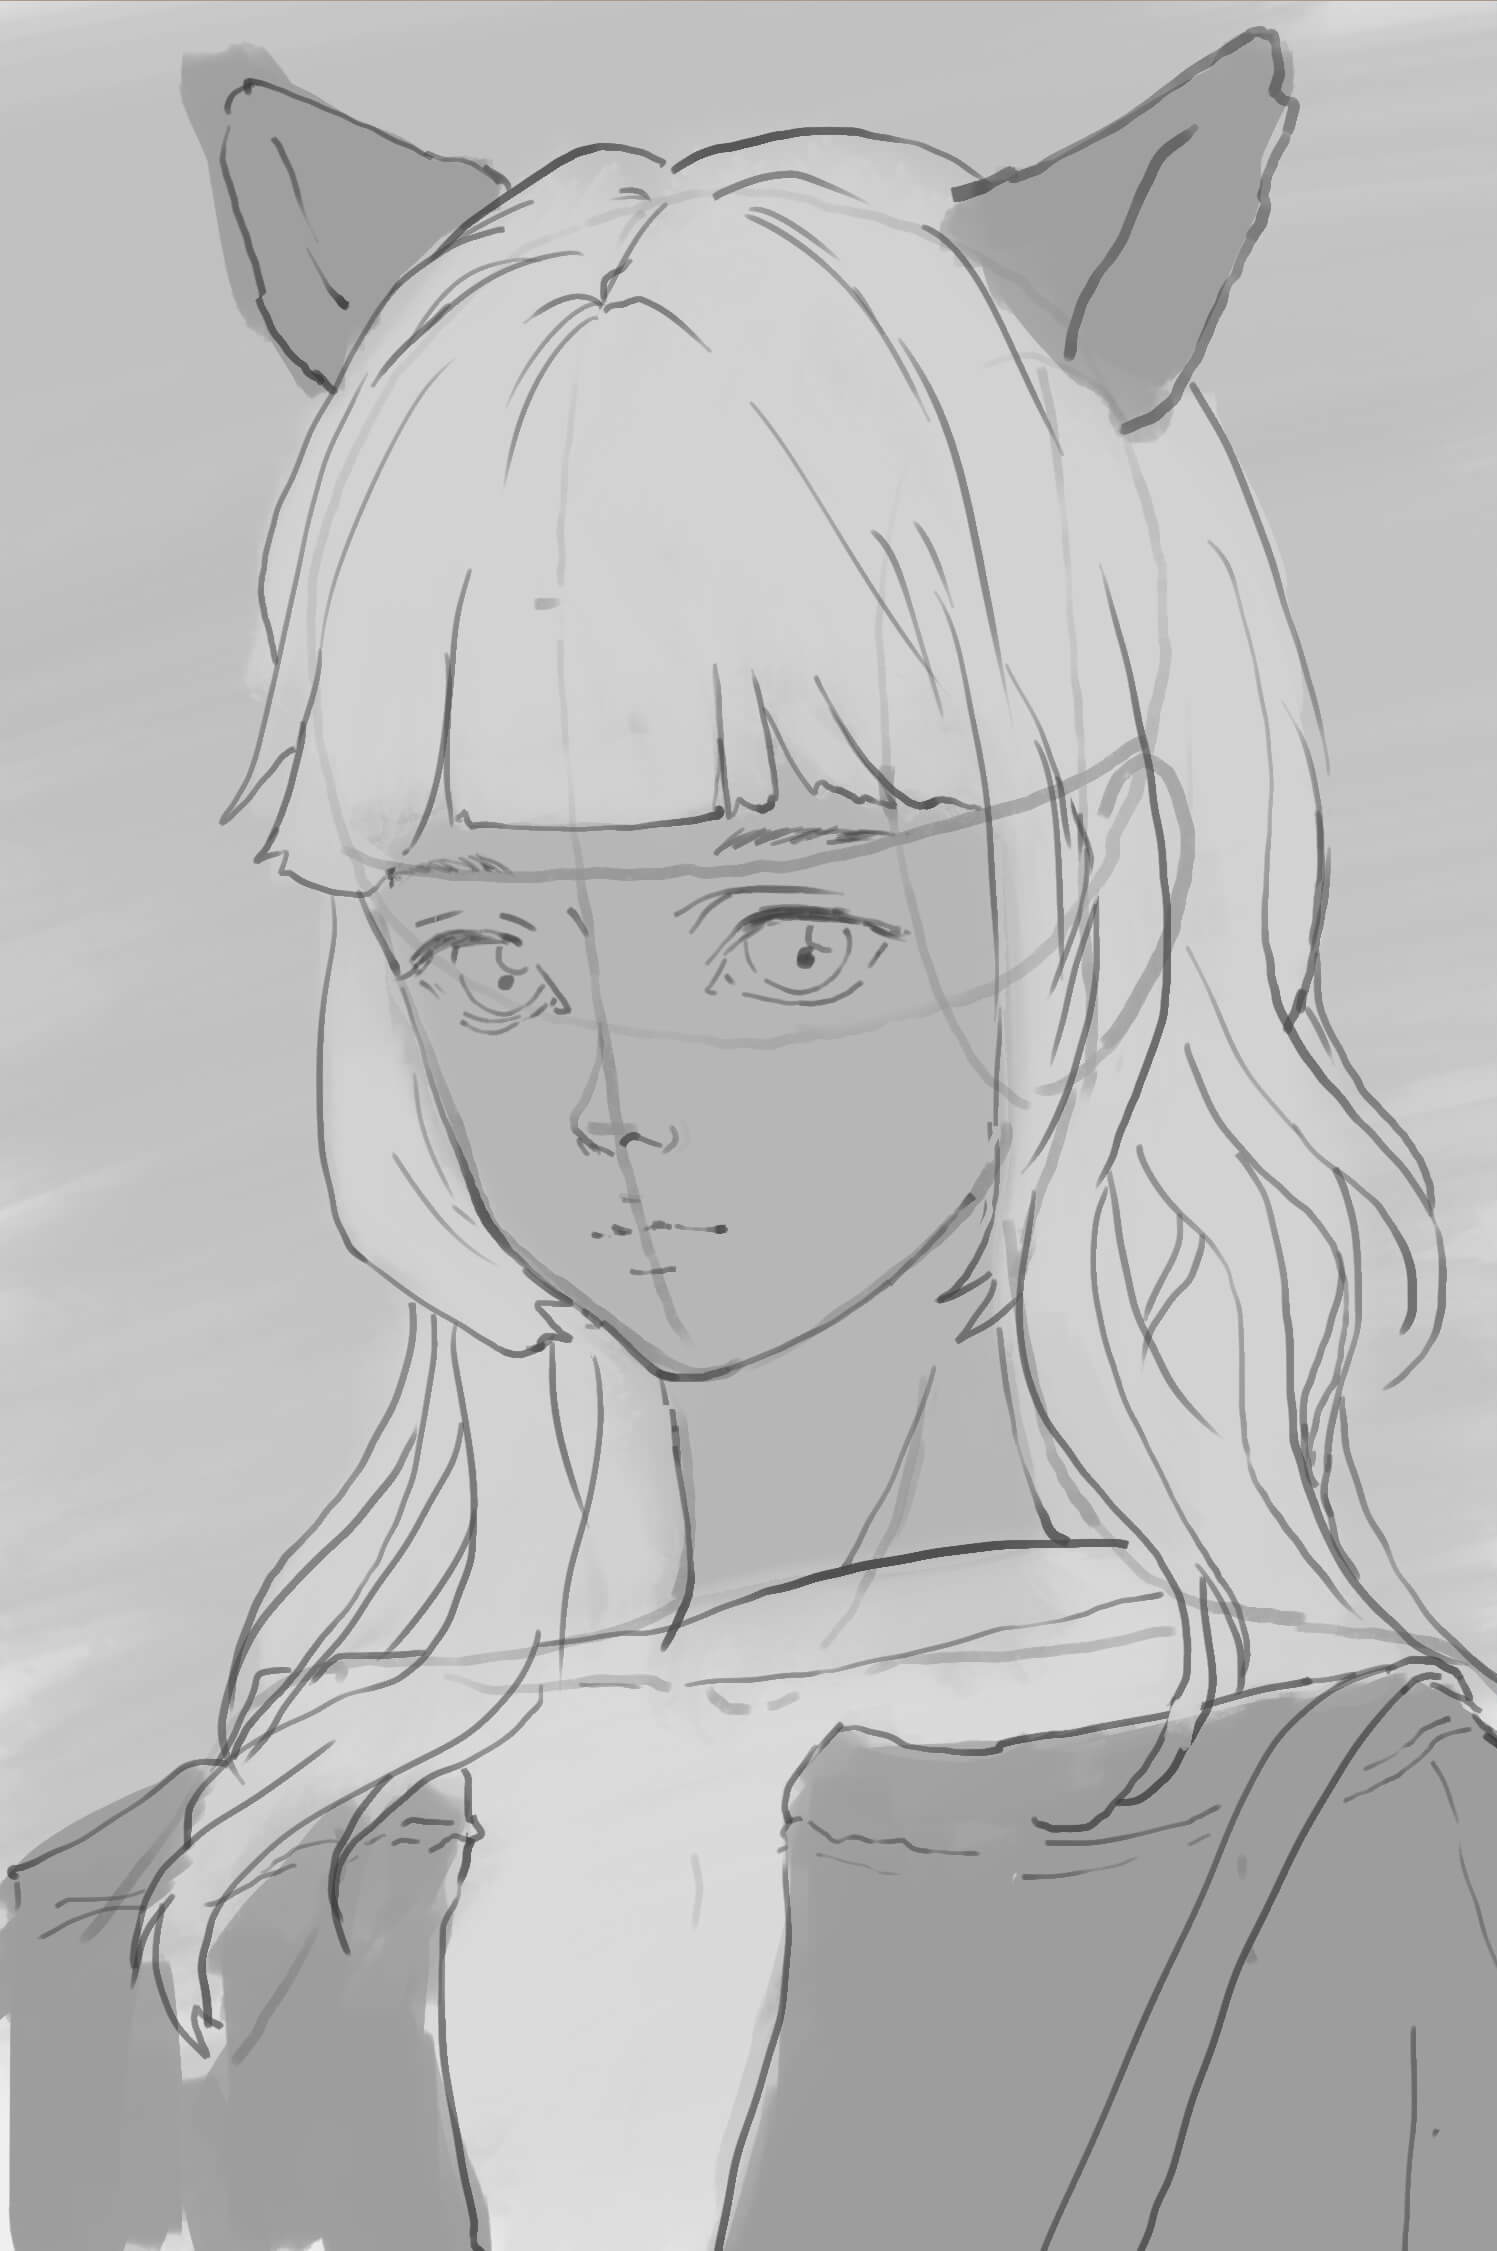
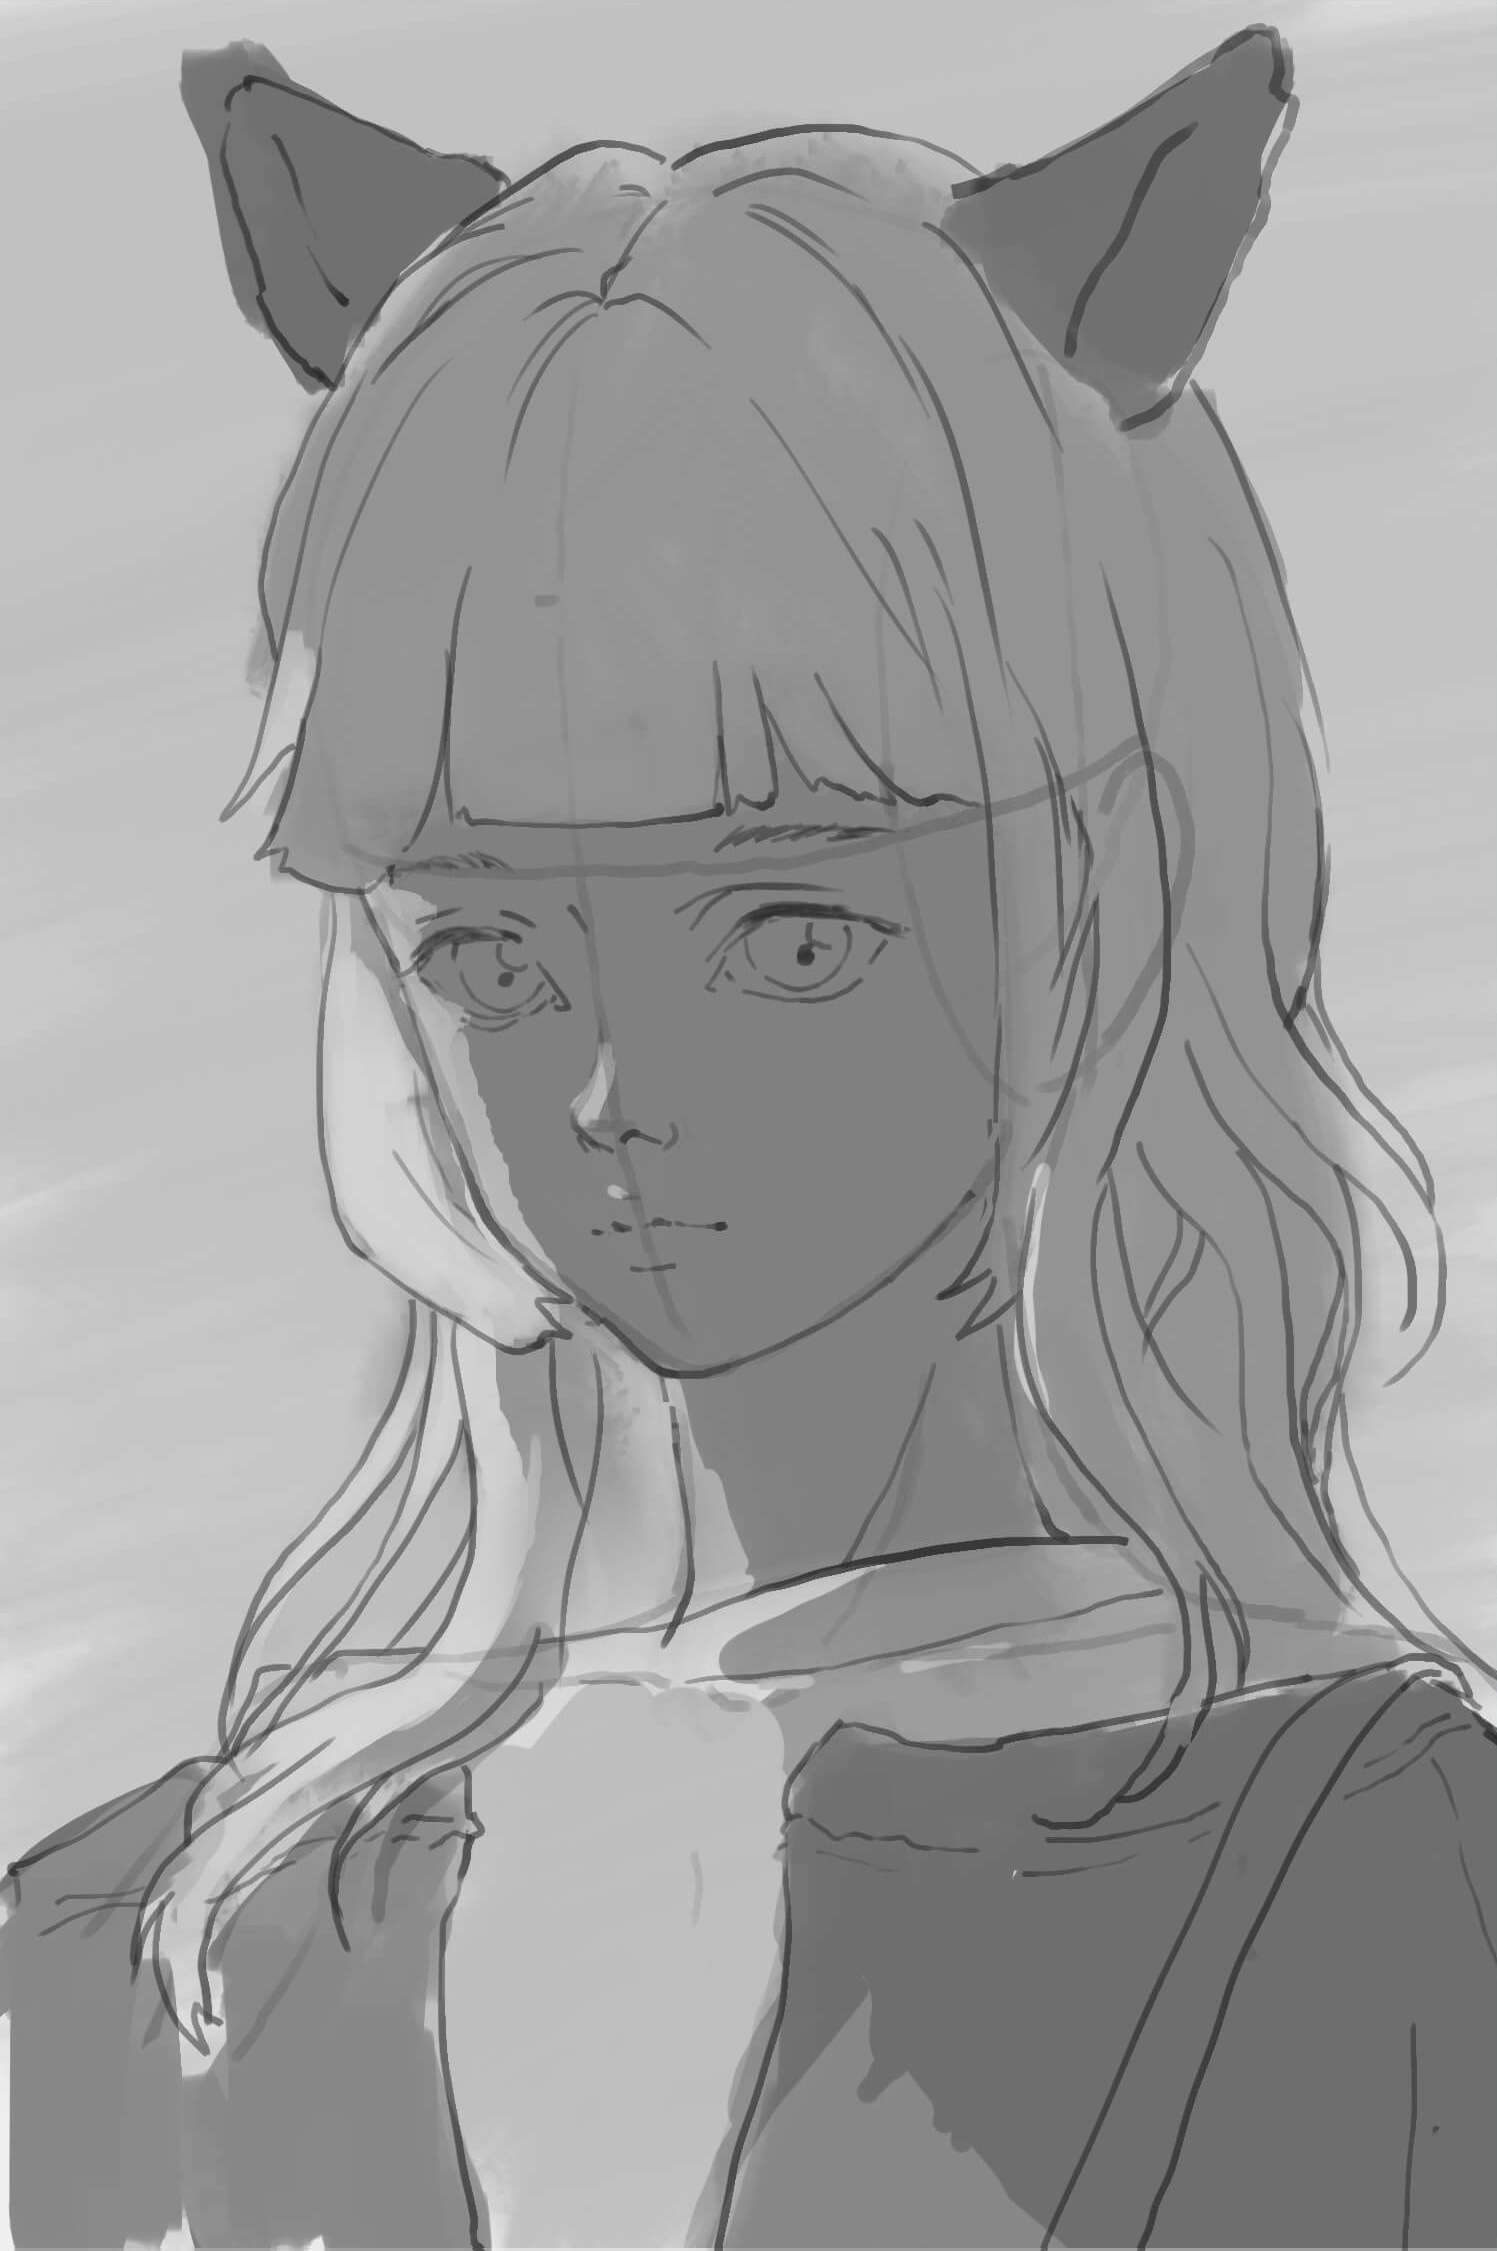
Add a layer beneath the line art and lay in a basic black-and-white scheme. At this stage I think about only two things: 1. the basic value of each local color, and 2. whether the area is hit by light. Everything so far is essentially "annotation," so accuracy is what matters most here.
Basic Color Grading / Tinting
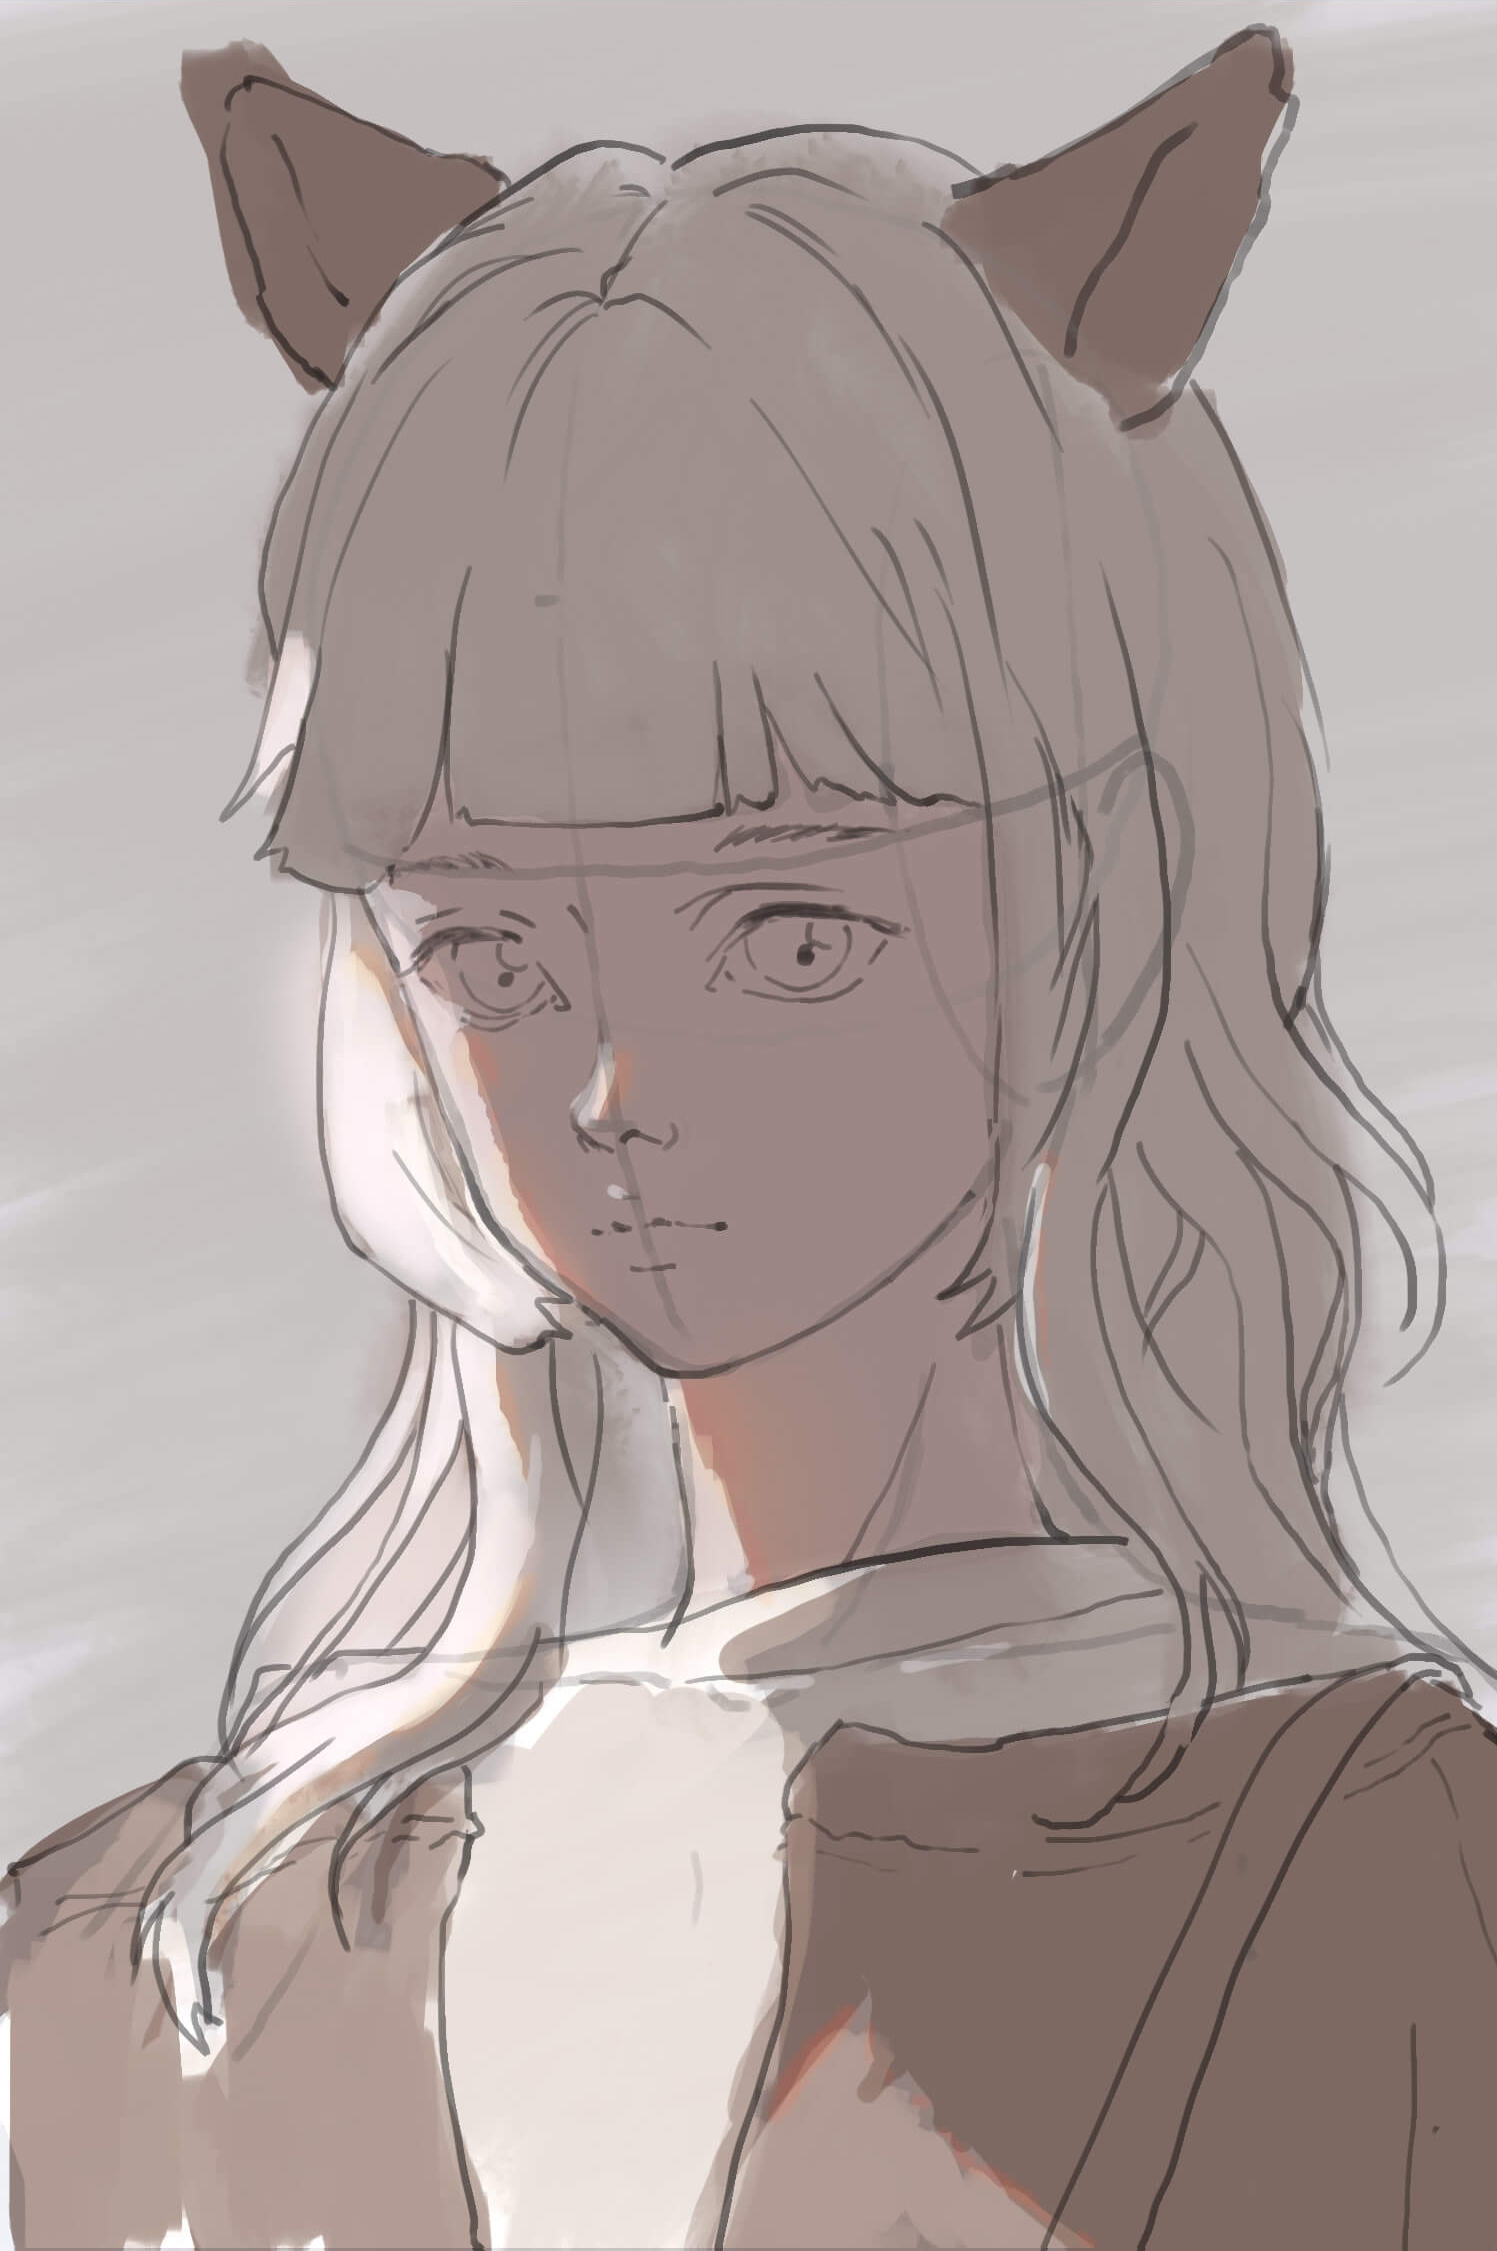
Use adjustment layers such as Color Balance to tune the base colors. For a woman's skin, lean toward a rosy tone — too much yellow tends to read as aged. I handle the terminator (the light–shadow boundary) by raising its saturation.
Tinting Each Facial Feature
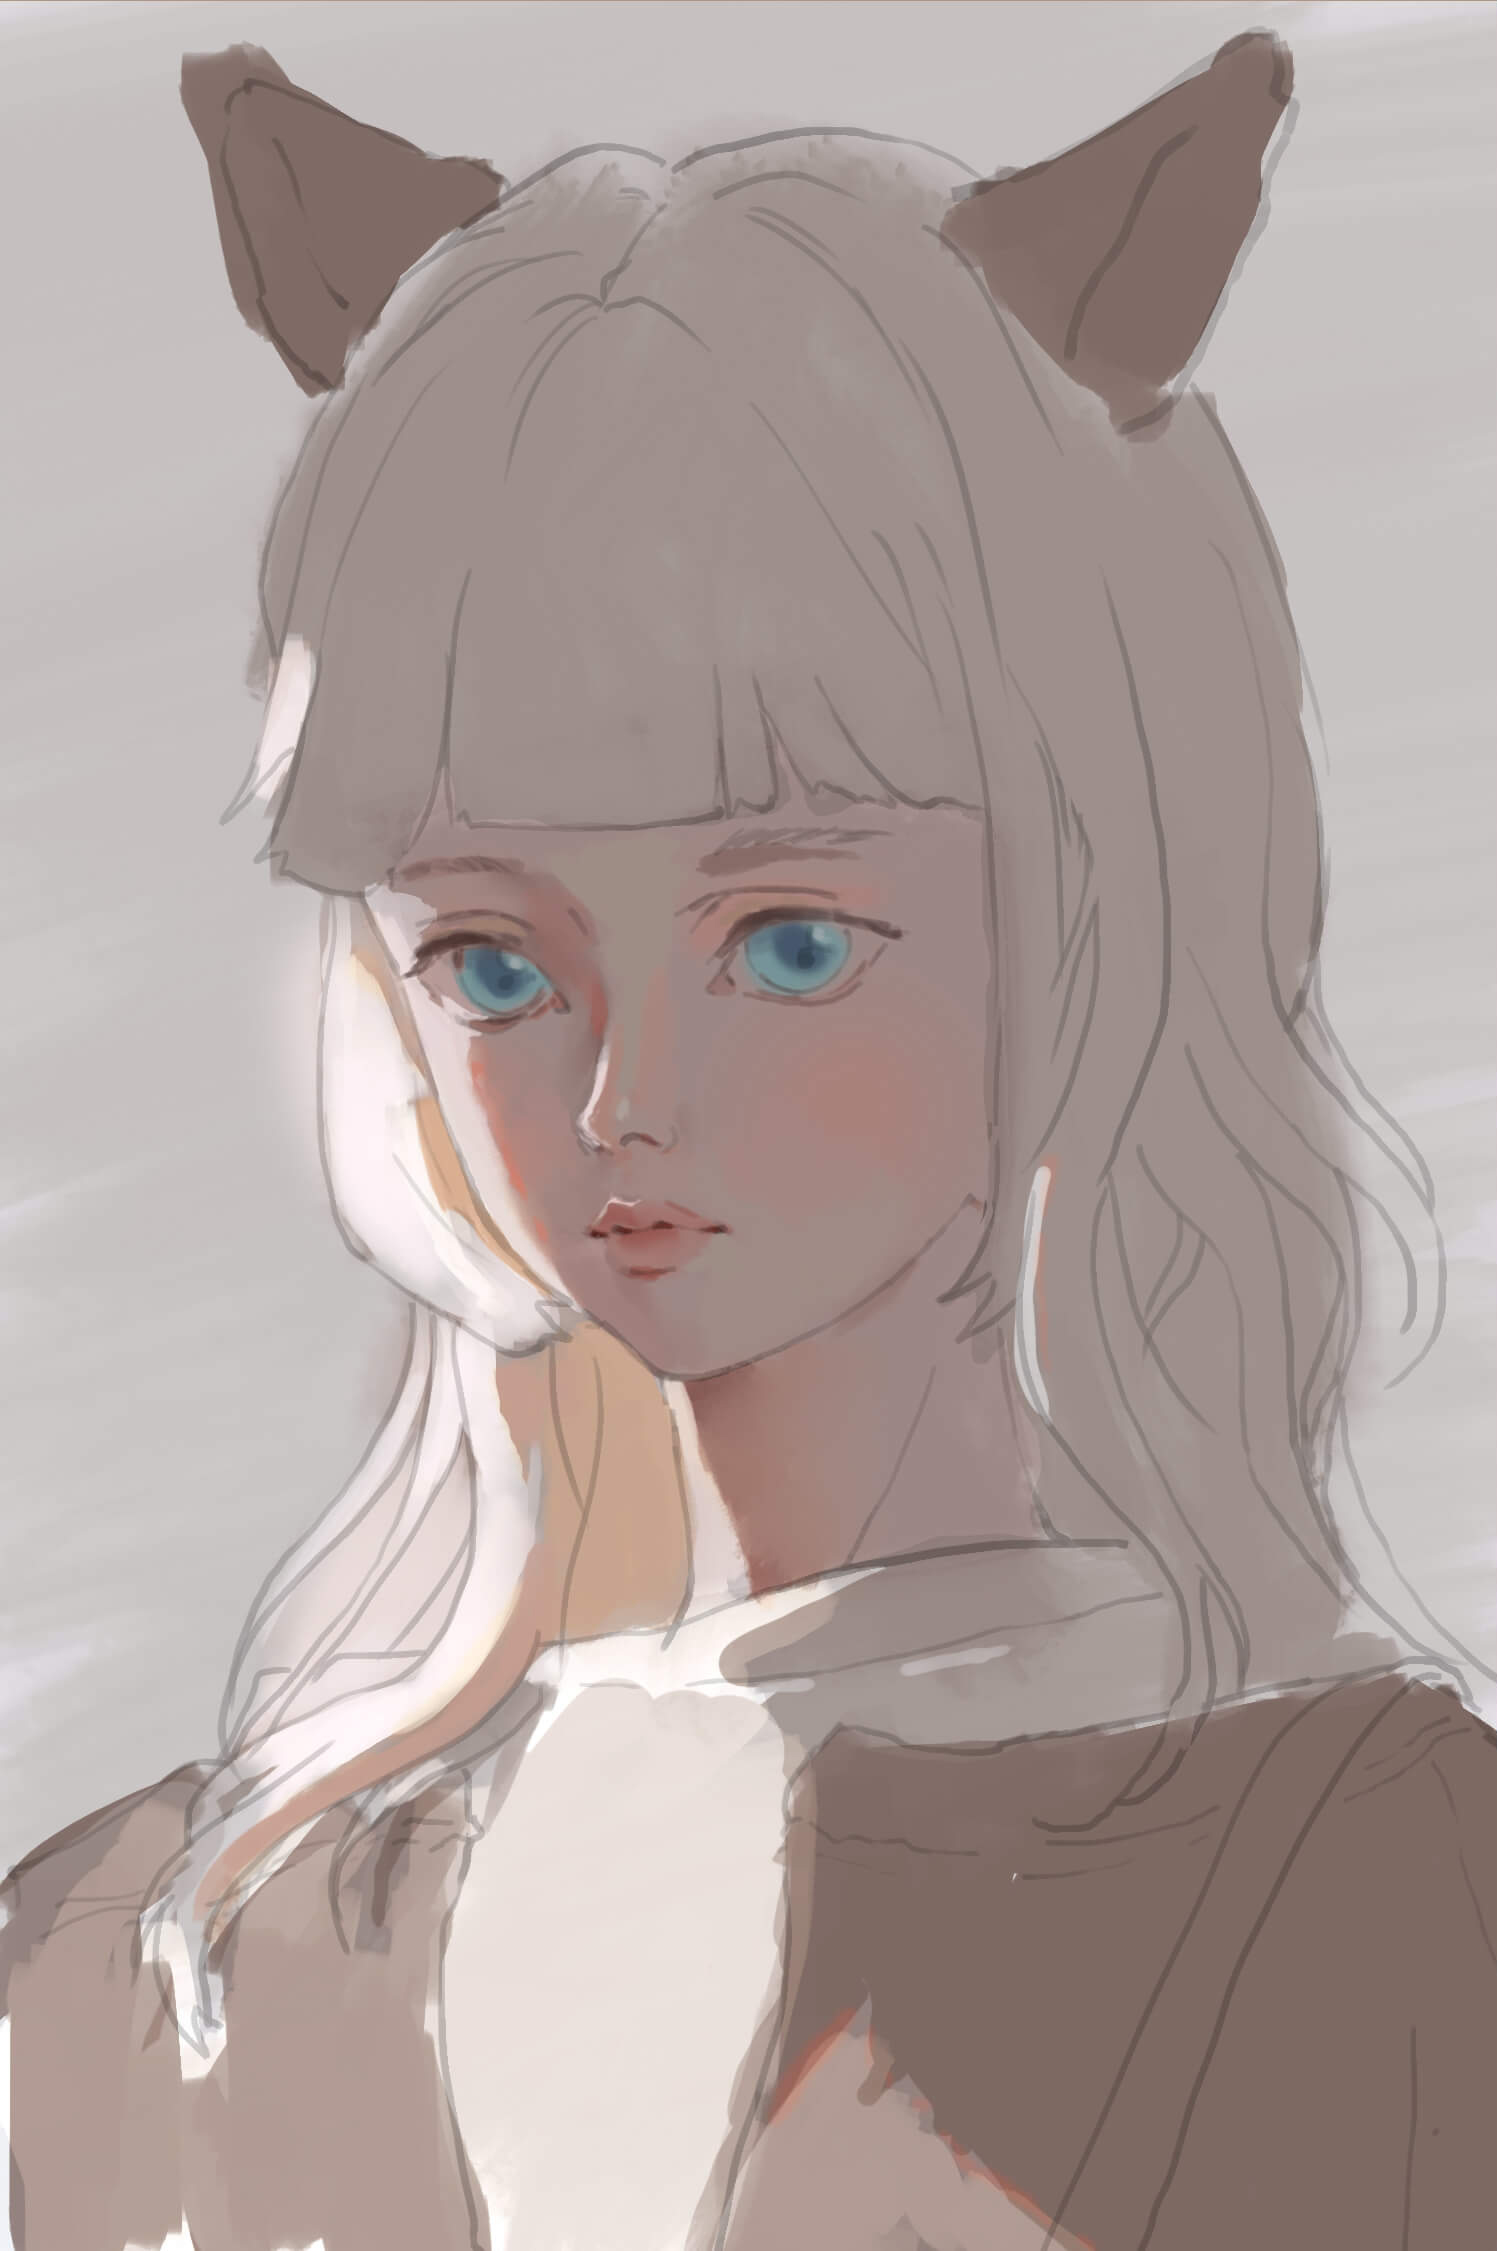
Tint with layer blending modes such as Soft Light. Switching blending modes lets a single flat color take on variation. For volume in the unlit areas, I mostly work with shifts in hue or saturation, so the surface's rises and falls don't become too harsh.
Refining Step by Step
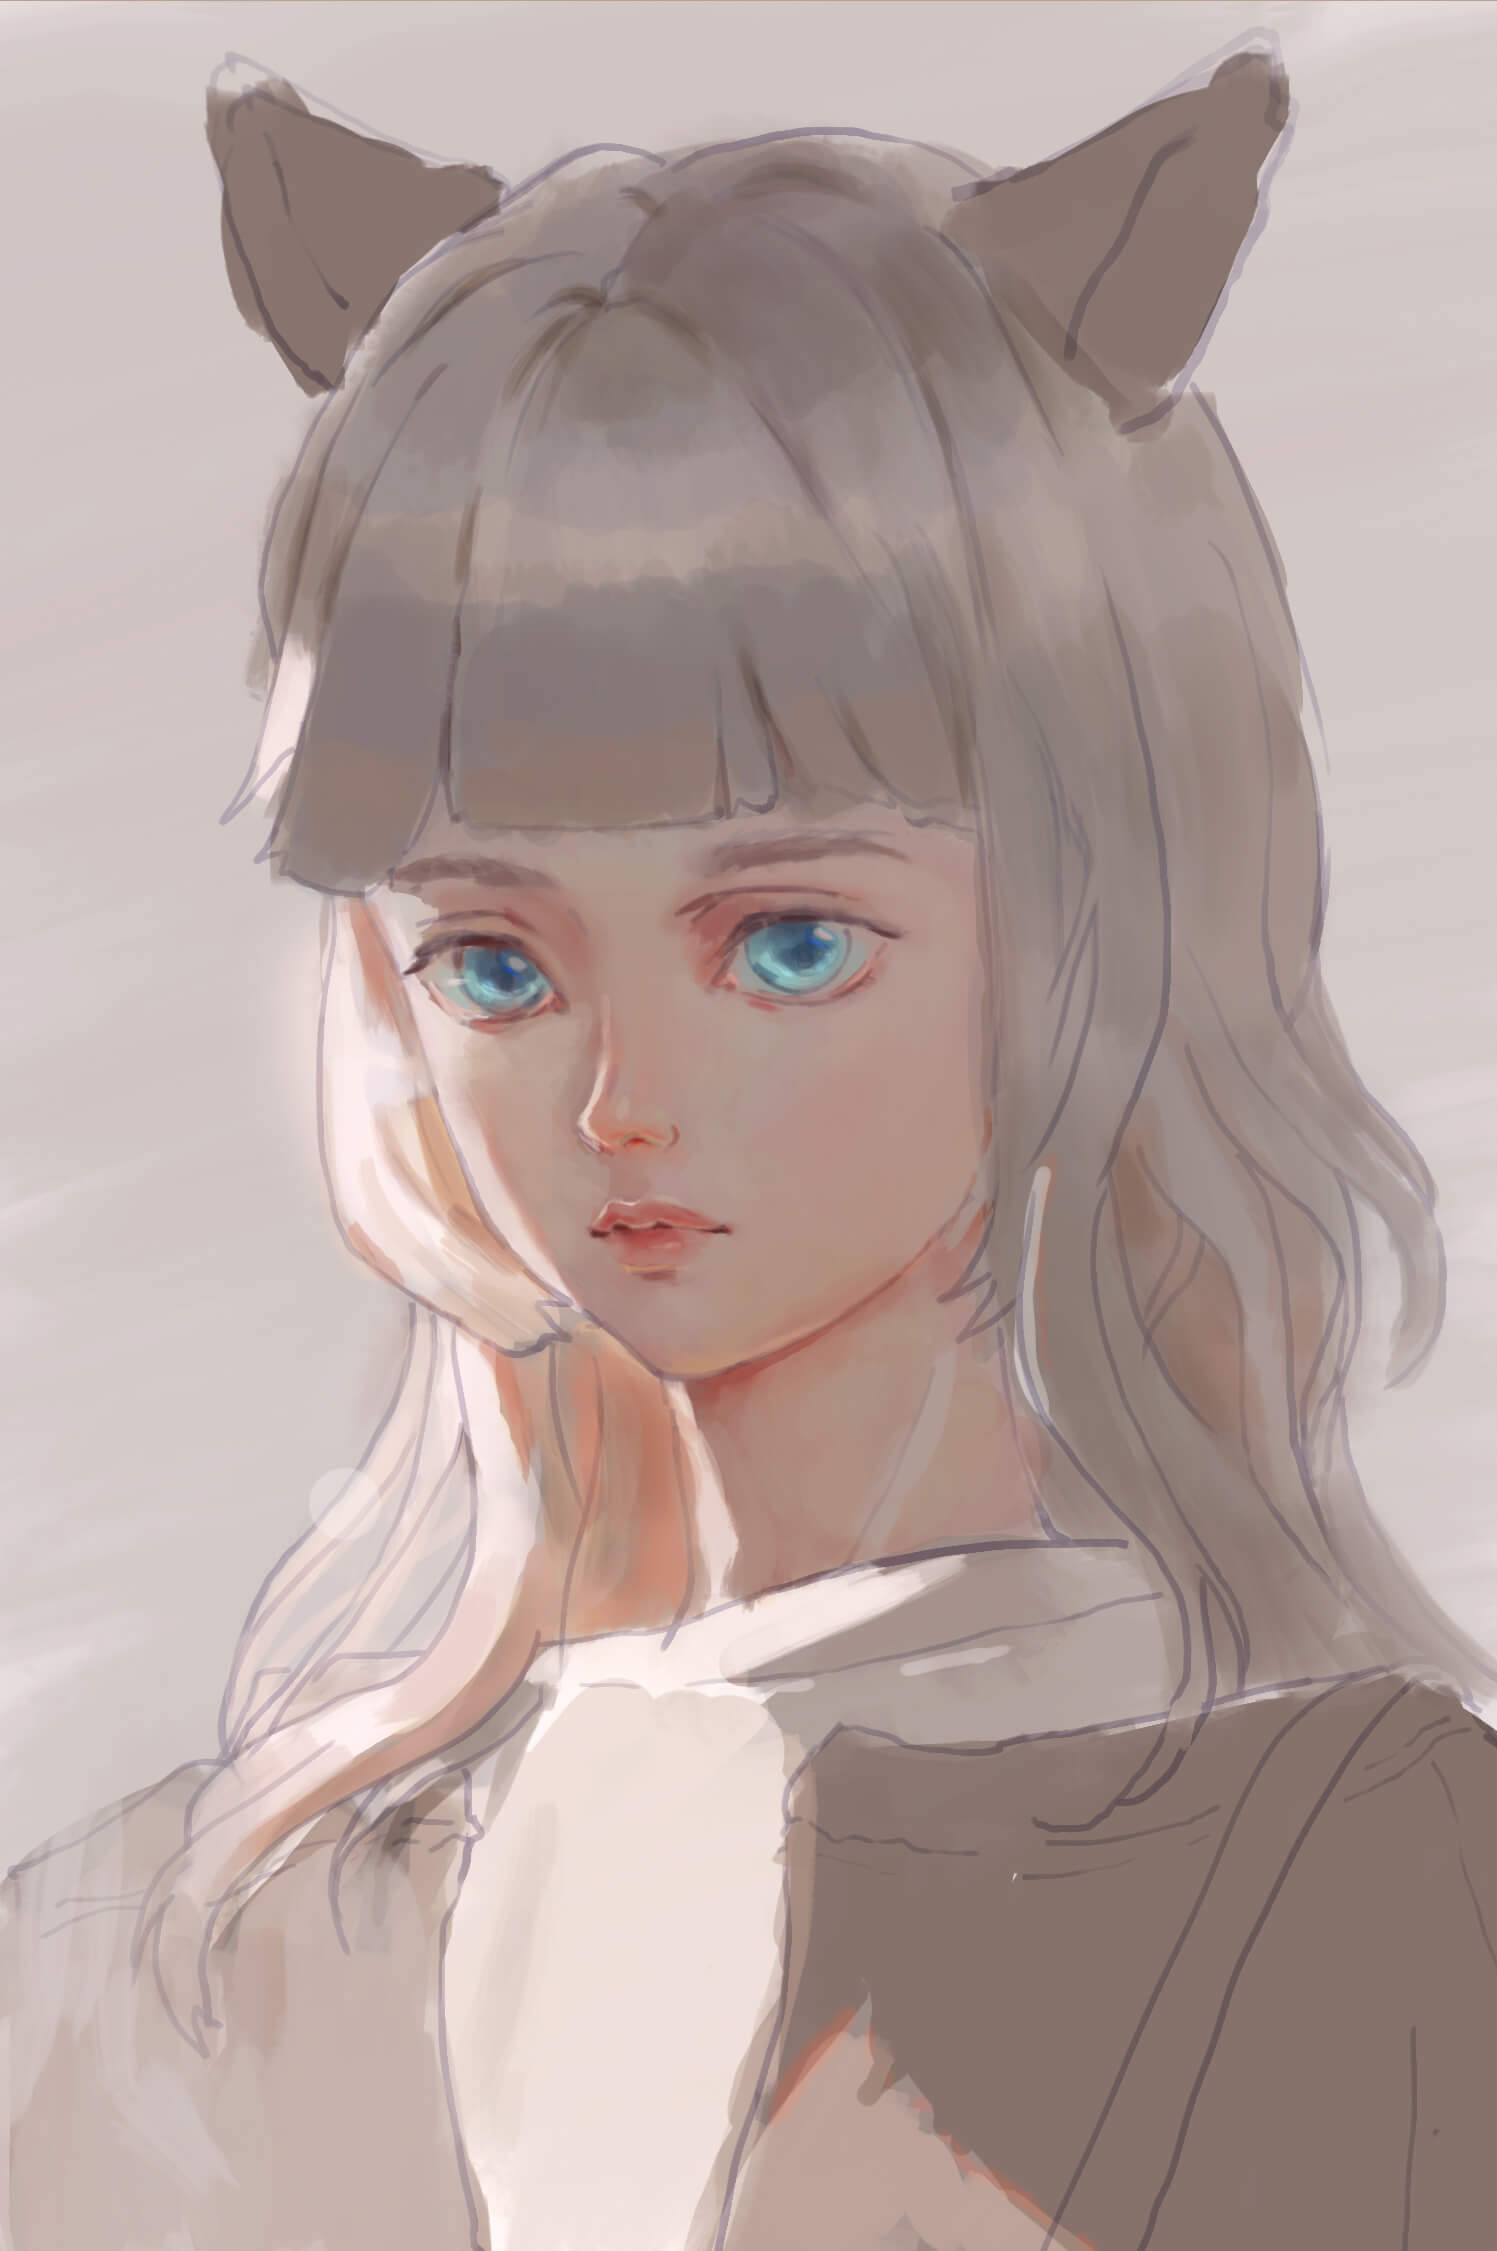
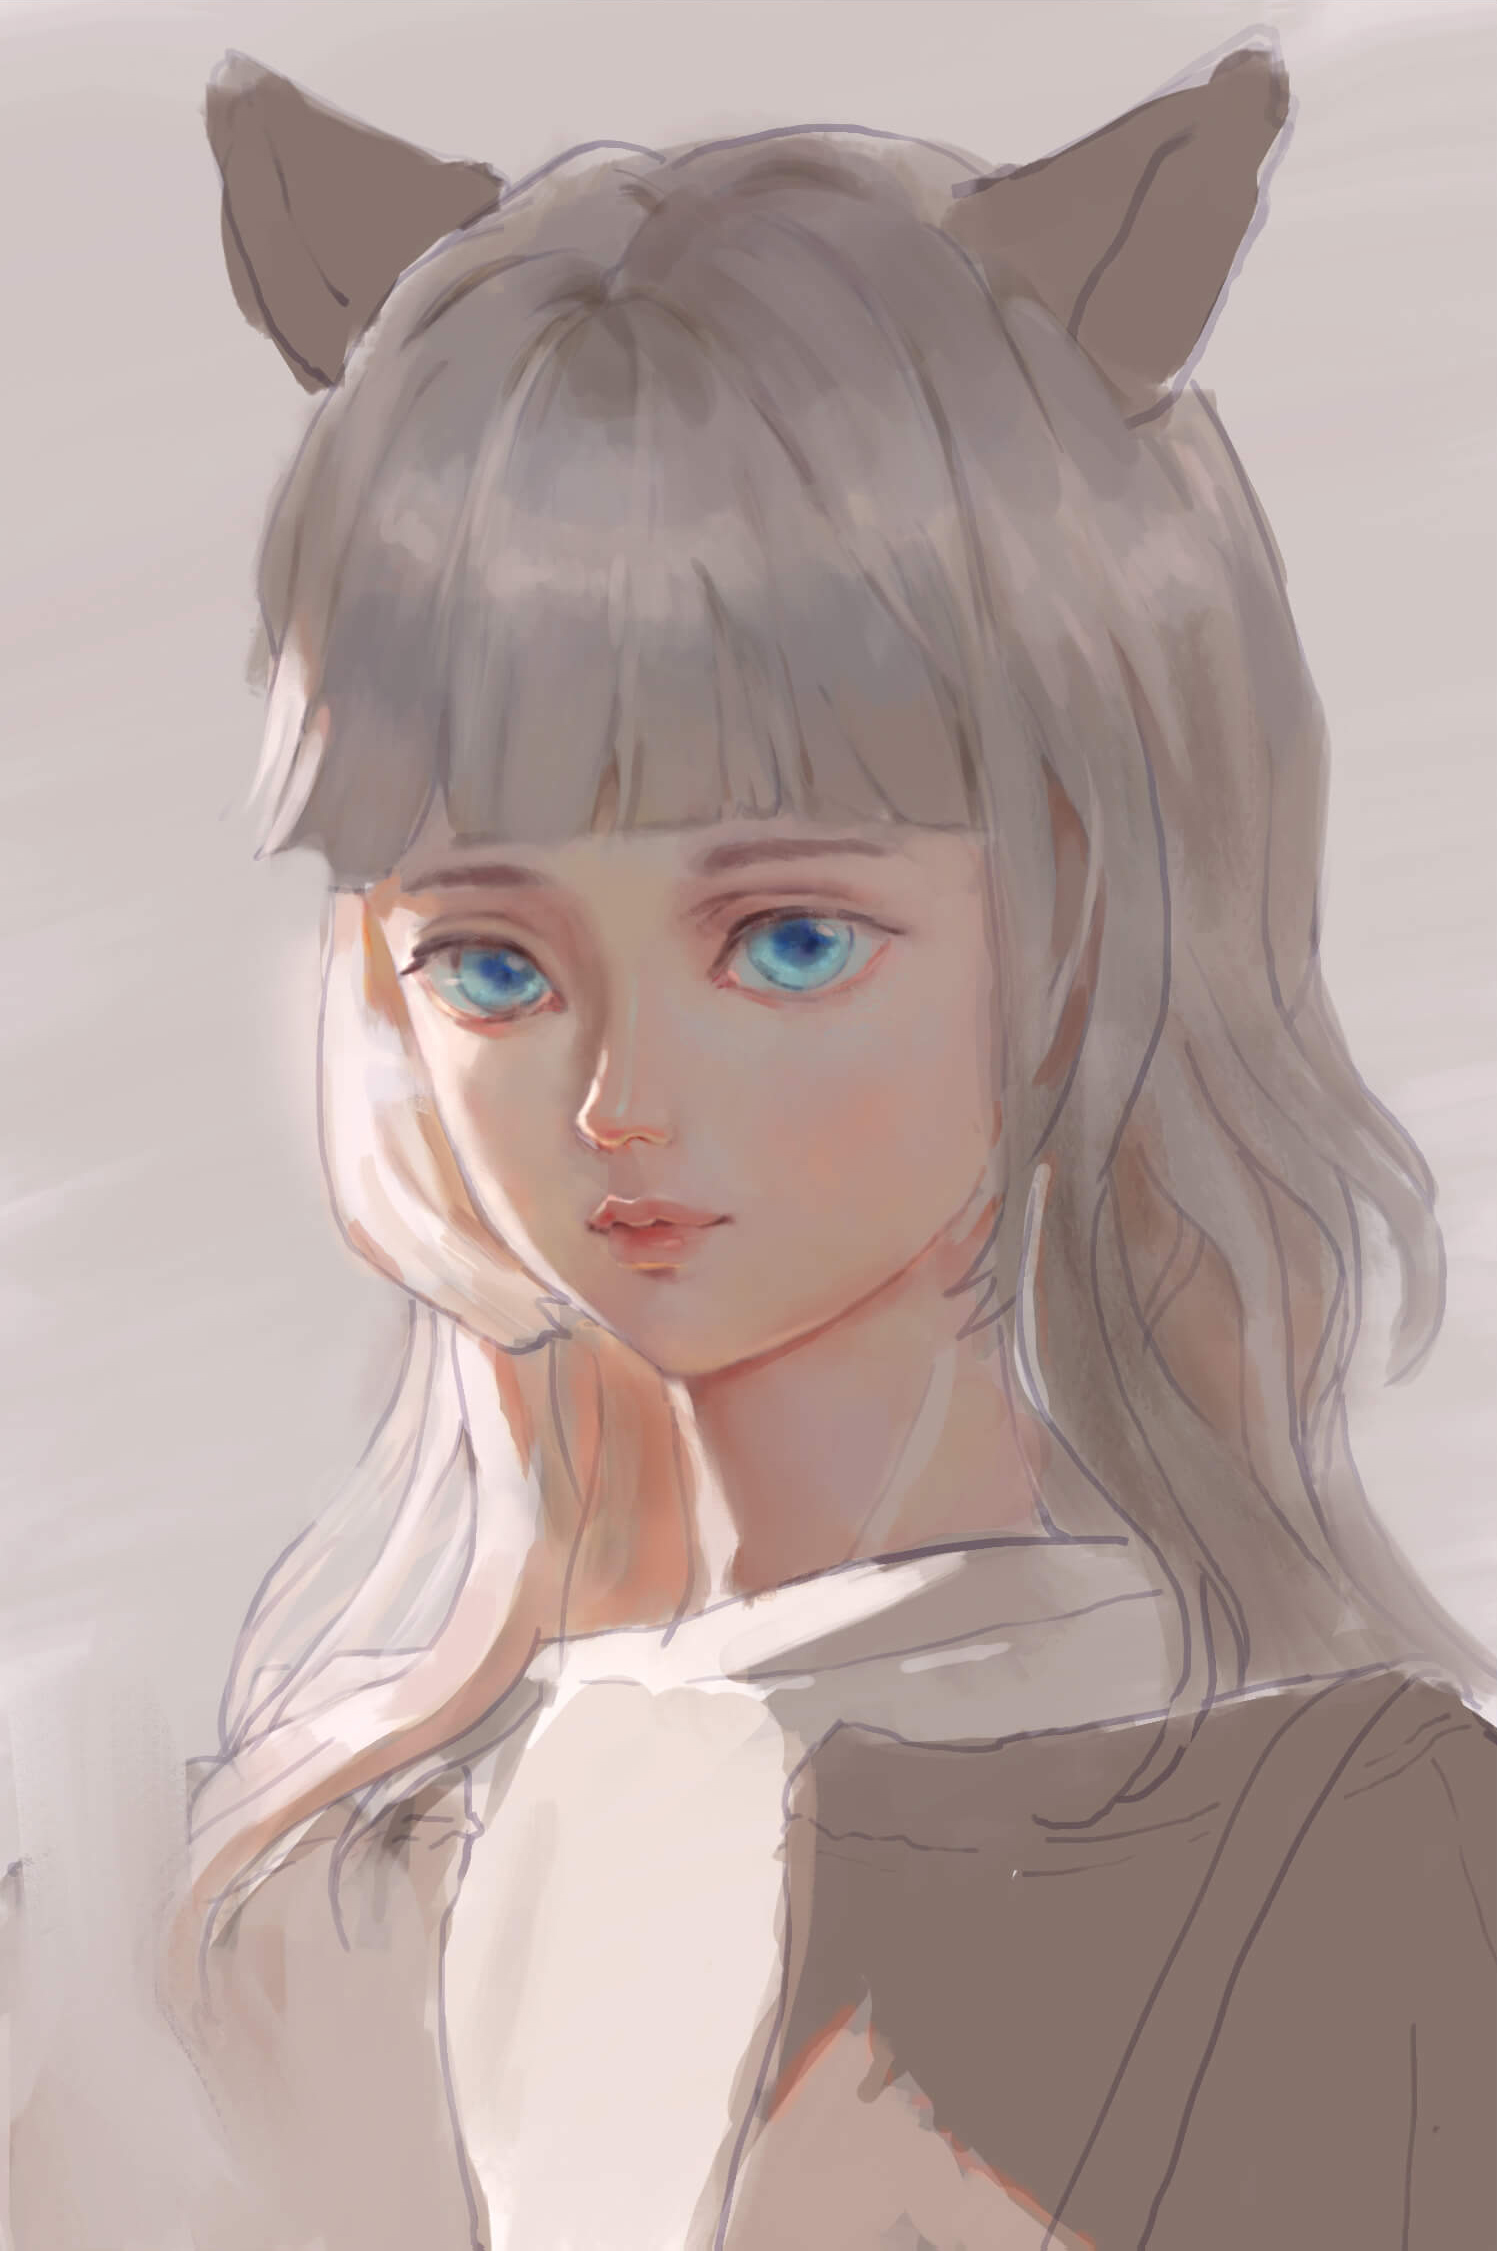
During refinement, if you're not familiar with the face's contours and volume, find reference photos to observe — you'll have something solid to lean on. Establish the sheen of the hair at this stage too.
Final Color Variation — Done
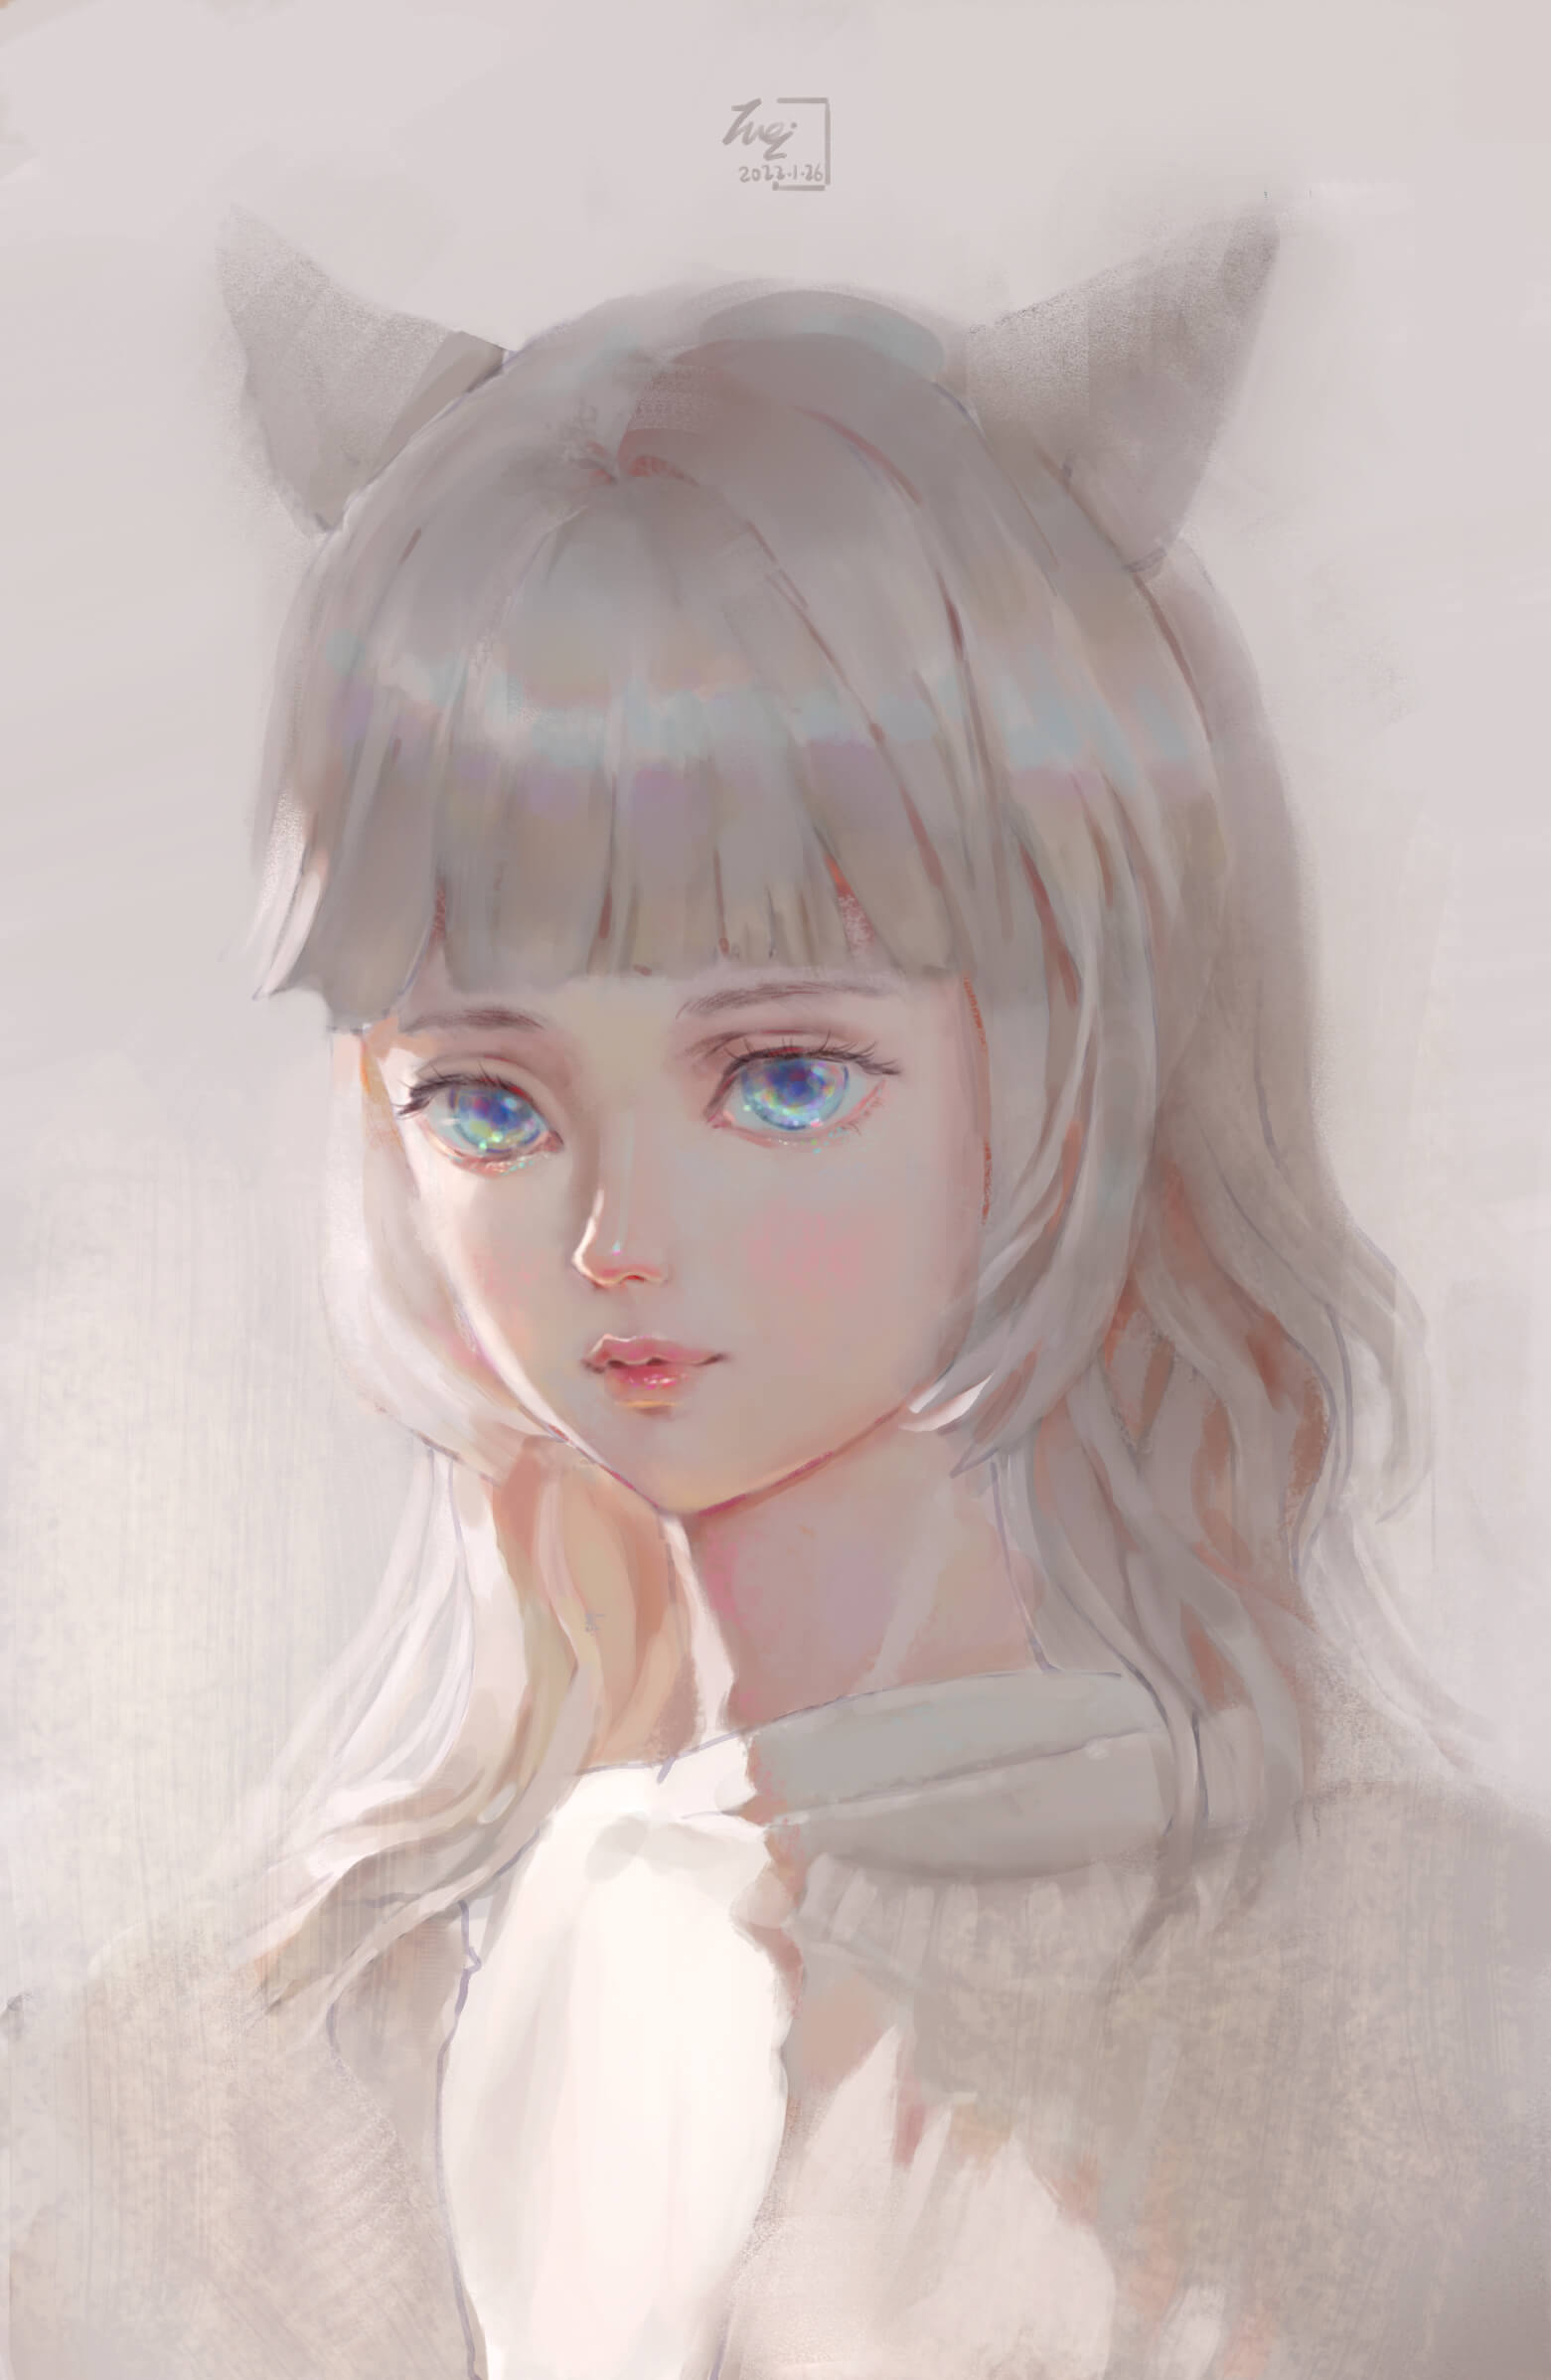
Finally, emphasize the facial features using the hue and saturation shifts mentioned earlier — and it's done.
Final Thoughts
In this livestream, we discussed how to light a portrait. The first step is determining where the light comes from, followed by establishing the lit and unlit sides — you must be very sure where the lit areas fall before moving on to refinement. At the end, I used color-swapping techniques to expand the color range. How to expand the color range is covered in the "Ink-Style Characters" course on the WeiChen Studio 維真電繪筆記 site. So if you want to understand these color-mixing techniques more deeply, our site's courses go much further. Once again, a shameless plug — please support our courses! Thank you, everyone!
Learn more about our digital painting courses Watch the free livestream online